This is my first time participating in Monday Made It! Let me tell you, I have been bursting at the seams since Friday wanting to share my creation, but I made myself wait! :) So, anyone connected to the educational pinning world has probably seen the
plastic drawer system for sorting papers. Let me find the picture... Can I just go off topic for a second and mention that it drives me NuTs!! when only a blog is pinned and not the actual blog post. It's so frustrating having to search through entries to find the picture that I saw on Pinterest! Ok, back to my Monday Made It... So I'm sure you've seen this on Pinterest. It's a SUPER great idea, but I must say, it's not very pretty. I was reading
The Help, on Friday and all of a sudden it hit me! SCRAPBOOK PAPER AND MOD PODGE!!! Now let me say, I had never, ever used Mod Podge before (unless you consider the Mod Podge for puzzles as a kid). It was a new, wonderful experience! :) I tried to take pictures as I went along, but I was sort of [messy] with the Mod Podge and really didn't want to ruin the iPhone, so there are only a few. BUT I'm excited to share.
I should also mention that I got my idea from a pin I saw about two years ago. Let me go find that one... I want everyone getting credit!! So,
Jen's blog was really helpful. Like I said, I'd never used Mod Podge before and I had no idea what to do with it! You gotta love clear, step by step directions! I'm going to go off topic again... Blogger sometimes really annoys me with where it wants to put pictures and where it doesn't want to put them. Thankfully, I have a bit of knowledge with HTML. Ugh!! Back on topic... I'm so glad Mod Podge dries clear. I applied the initial coat of Mod Podge haphazardly! I could see pockets where there was too much. I'll just caption the pictures from on out...
 |
| I used my "paper slicer" to cut the scrapbook paper down to the right size, and I printed the labels on regular computer paper. Then I used my spiffy, decorative scissors to put out the labels. Finally, I used rubber cement (LOVE) to glue the labels to the pieces of scrapbook paper. |
 |
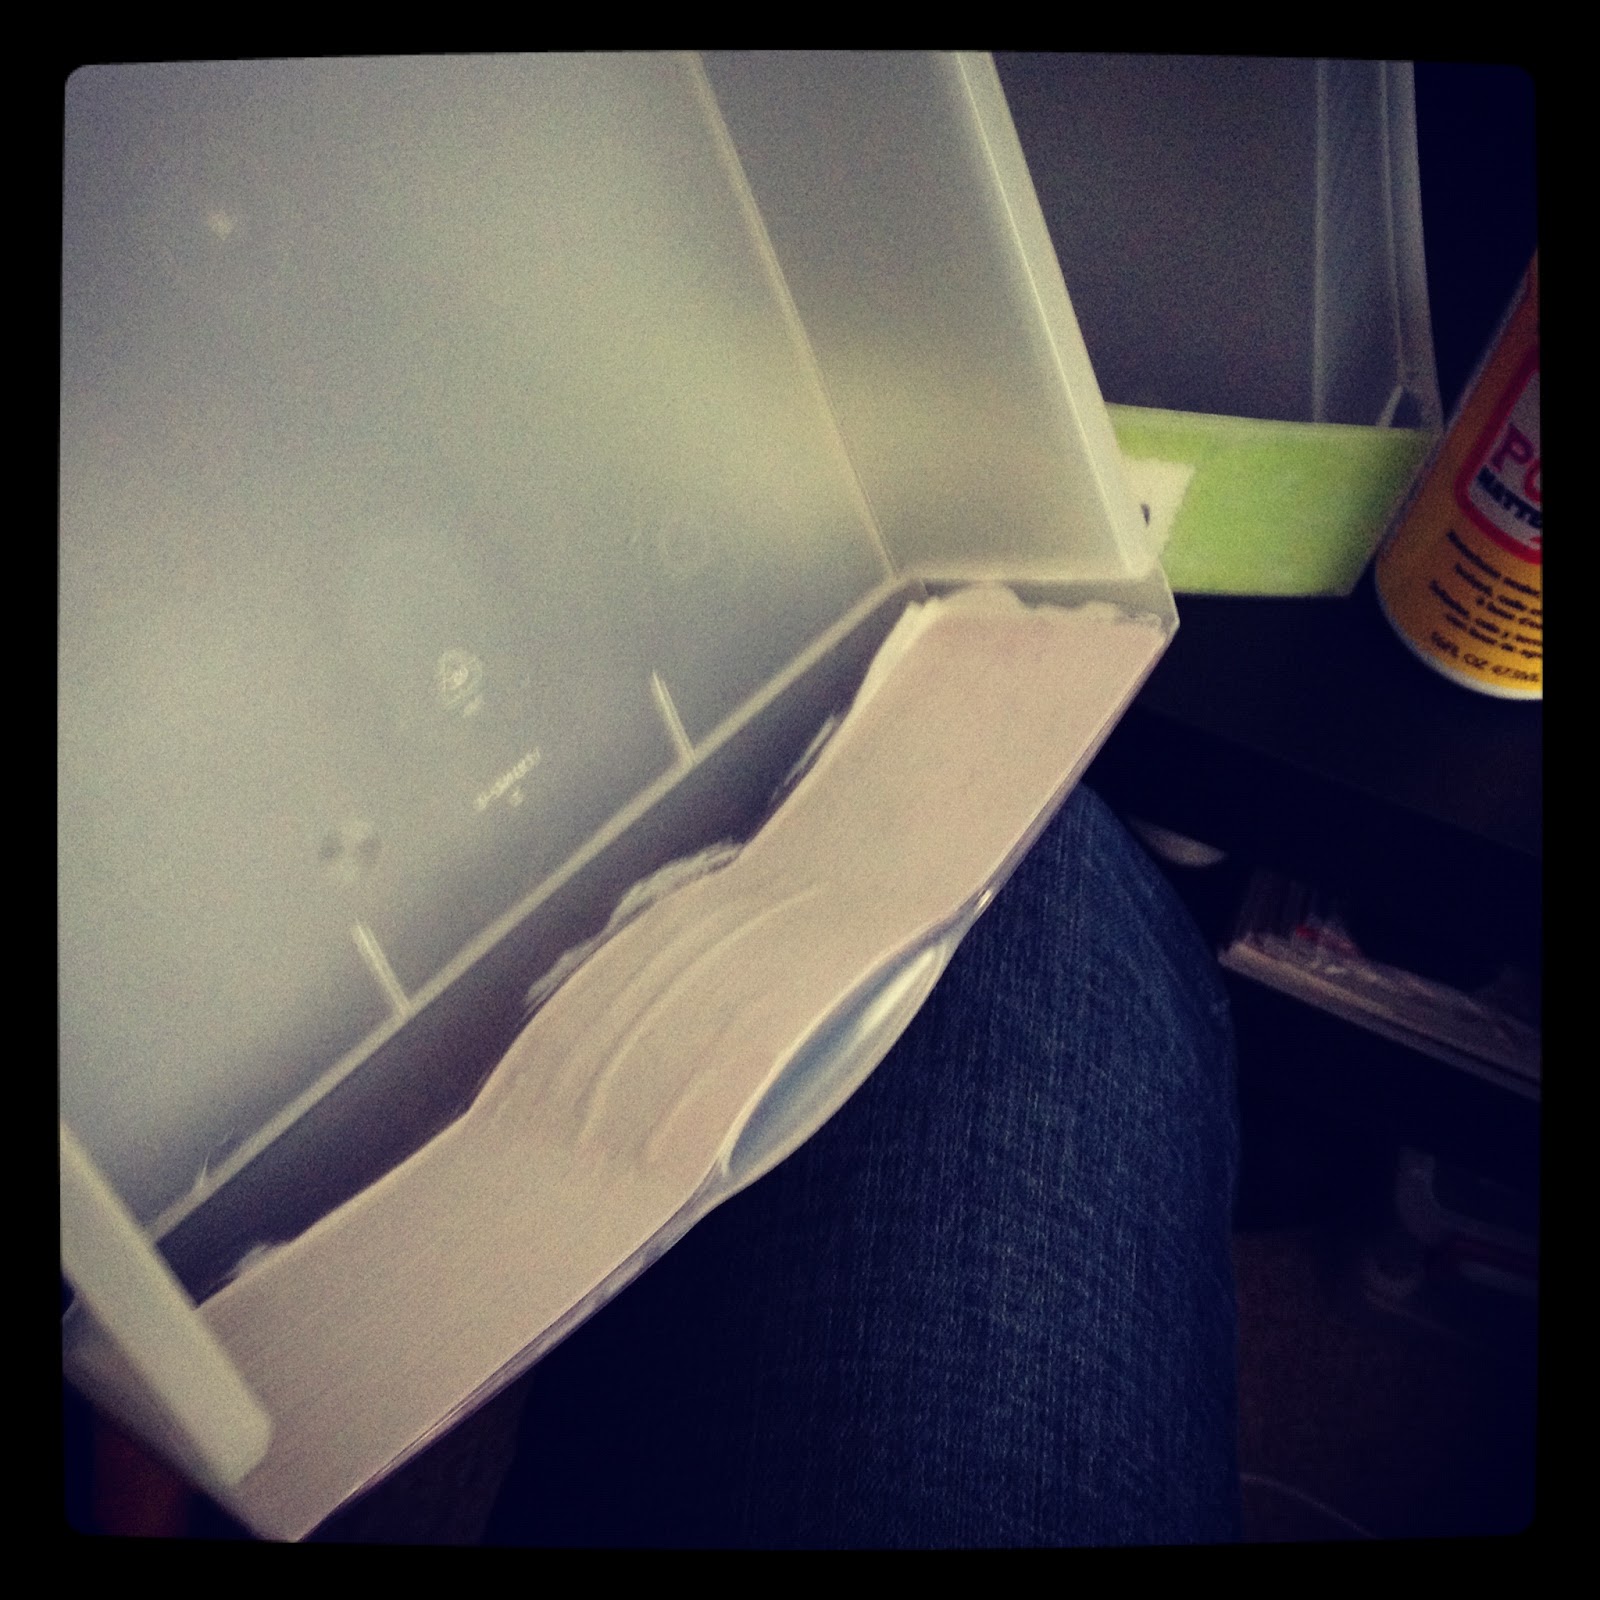
| You can see where I had too much Mod Podge. |
 |
| Next, I tried to smooth out the air bubbles and wrinkles and applied 3 coats of Mod Podge to the back side letting it dry between coats. |
 |
Final product! The first drawer I did was the top one. You can see that I went to the left with the paper on that and to the right with the paper on the other two. That's the only flaw that stands out to me, but I'm pretty proud! I think it turned out really cute! :)
|
I hope you all like it! Let me know what you think! Also head over to
Fourth Grade Frolics and view other Monday Made It ideas! :)


Nice job! I love that font. What is it? I'm a new follower. Enjoy your summer- what's left of it, anyway. Great blog, by the way.
ReplyDeleteann
The Caffeinated Classroom
Thanks!! :) The font is called "Janda Scrapgirl Dots" (http://www.dafont.com/janda-scrapgirl-dots.font). It is one of my favorite fonts!
DeleteGreat job. You have inspired me!
ReplyDeleteLove it! I will have to make one of those!
ReplyDeleteI have this same project pinned to make! I love the personal touches that you added to it. Very cute! :)
ReplyDeleteLisa
Learning Is Something to Treasure
I love how this turned out:) The colors are wonderful!! I may have to be making one of these:) So super glad you linked up and hope you can do it again next week:) Thanks bunches:)
ReplyDelete4th Grade Frolics
I've been wanting to link up for a few weeks, but I never could think of anything to make! Thanks for doing this! I've already started working on ideas I've seen from some of the other folks that have linked up! :)
DeleteLooks so great! Love the paper and the whole look :o)
ReplyDeleteSabra
Teaching with a Touch of Twang
I love this idea! I've been trying to figure out different ways to cut the clutter on my desk and those are the perfect categories I need! And I love how cute you made it...stealing this idea!
ReplyDeleteThanks! Steal away! :)
DeleteJust found your cute blog through the linky and am your newest follower. :)
ReplyDeleteAmanda
Teaching Maddeness
Come join my linky party!
How CUTE!
ReplyDeleteI love this idea.
EmilyK
I love this, the color choices are so fun. Thanks for sharing.
ReplyDeleteJill
Bubbalulu.blogspot.com
I think you've just inspired me for my next "Monday Made-It"! I've seen these all over Pinterest but like you said, they weren't ever very cute! I LOVE yours! Last night I actually made Monday-Friday signs just like these and now all I need are the drawers! I think I'll pick up an extra set so I can make the grade/copy/file one as well! :) I'm your newest follower!
ReplyDeleteAllison
http://staycalmteachon.blogspot.com/
Ooh, that's a good idea! One of the teachers I work with has a super nice metal and canvas draw system that actually has Monday-Friday printed on the drawers. I wish I knew where she got it, but I'm sure I couldn't afford it! I might have to borrow your idea! Thanks for visiting and following! :)
DeleteI love this project! This will have to be next on my "to-do" list. You know, the ever growing list that never stops!
ReplyDeletePlease check out my new blog and become a follower! I'd love to have you!
http://beyondthegradebook.blogspot.com
Oh My Goodness Gracious! I love this! I need to be more organized with grading papers and this is perfect. Thank you so much for sharing.
ReplyDeleteI am happy to be your newest follower. I would love for you to hop over and visit me when you get the chance. =)
Heather
Heather's Heart
Okay, I just bought my drawers. What are the measurements you used for the paper?
ReplyDeleteI am so excited to make this. When I share mine, I'll link it back to you and hopefully you'll get some new followers! We all love new followers! =)
Heather
Heather's Heart
Oh gosh, let me think... I THINK I cut my paper to about 9 1/4", but mine were slightly short. Then I put the paper inside the drawer to get the height. I would strongly suggest doing your own measurements, though! I wouldn't want you to ruin your paper! Have fun! :)
DeleteP.S. Share great ideas and your followers will come on their own. :)
Love your blog! Glad you were able to use my drawer idea!! I nominated you for the Liebster Blog Award! Visit my blog to pick up your award!
ReplyDeleteThanks!! You definitely had a GREAT idea!! :)
Delete